
1955 Ford Part 113: Custom Cut & Welded Exhaust Pipes for the RexHP Headers
- Daniel Jessup

- Jun 6, 2022
- 6 min read
Updated: Apr 5, 2024
MIG welding custom fit exhaust pipes can be quite a bit of work...
During projects like these I am reminded that my life calling is certainly not in fabrication work! While I do enjoy turning wrenches in the garage and tinkering on the Ford, custom fabrication is another level beyond simply replacing/restoring OEM parts for a vehicle. I obviously need more practice. So, even though I am no expert in this field of welding up exhaust pipes, let us just say that I was after more function than form. My welds will not win any awards, but hey, all of this is going to be under the car where it will not be seen.
Problem
With the installation of the RexHP headers, a couple of issues arise. First of all, the original down pipes to the mufflers were 2" in diameter whereas the headers exit at 2.5". In addition, the headers have a 3 bolt flange whereas the original exhaust manifolds have a 2 bolt flange. Of course there is also the different "position in space" that the header collector flange resides in that makes modification or new pipes necessary.

The header exit posed a new set of problems for exhaust pipe size and routing.
Solution(s)
There were a few solutions to consider, the first of which would have been to just drop off the car at an exhaust shop, have them bend and fabricate a new set of pipes, spend the extra money and be done with it. If you have been reading this blog very long then you know that kind of option is not normally what we do. I have nothing against contracting out the work, but part of the reason for the blog is the DIY aspect of owning, operating, and enjoying an old car.
The DIY solution could have went a few different ways. I could have left the 2" pipes in position, modified those pipes with pie cuts and adapters, and then used a 2.5" to 2" reducer right at the header collector and call it a day. But, to me it seemed that if the whole reason for installing headers was to get more exhaust flow, going immediately to 2" off the header would have been very close to stock flow.

1957 Ford stock cast iron manifolds are nice, but the exit is only 2".
The route I chose was to purchase a set of 2.5" mild steel exhaust pipes (a box of various bends and lengths) and a pair of 2.5" collector flanges. This way, I could keep 2.5" from the header down to where the mufflers are located. I installed those glass packs many years ago as a teenager. I can remember replacing the original exhaust system with a set of pipes from Waldron's exhaust up in Michigan. I am pretty sure I bought them at the Spring Carlisle Swap Meet one year, and I sourced the mufflers from a local NAPA. Another detail I wanted in this solution was to be able to include a 3 bolt flange exhaust dump for the track or just on those days I wanted a little more oomph.
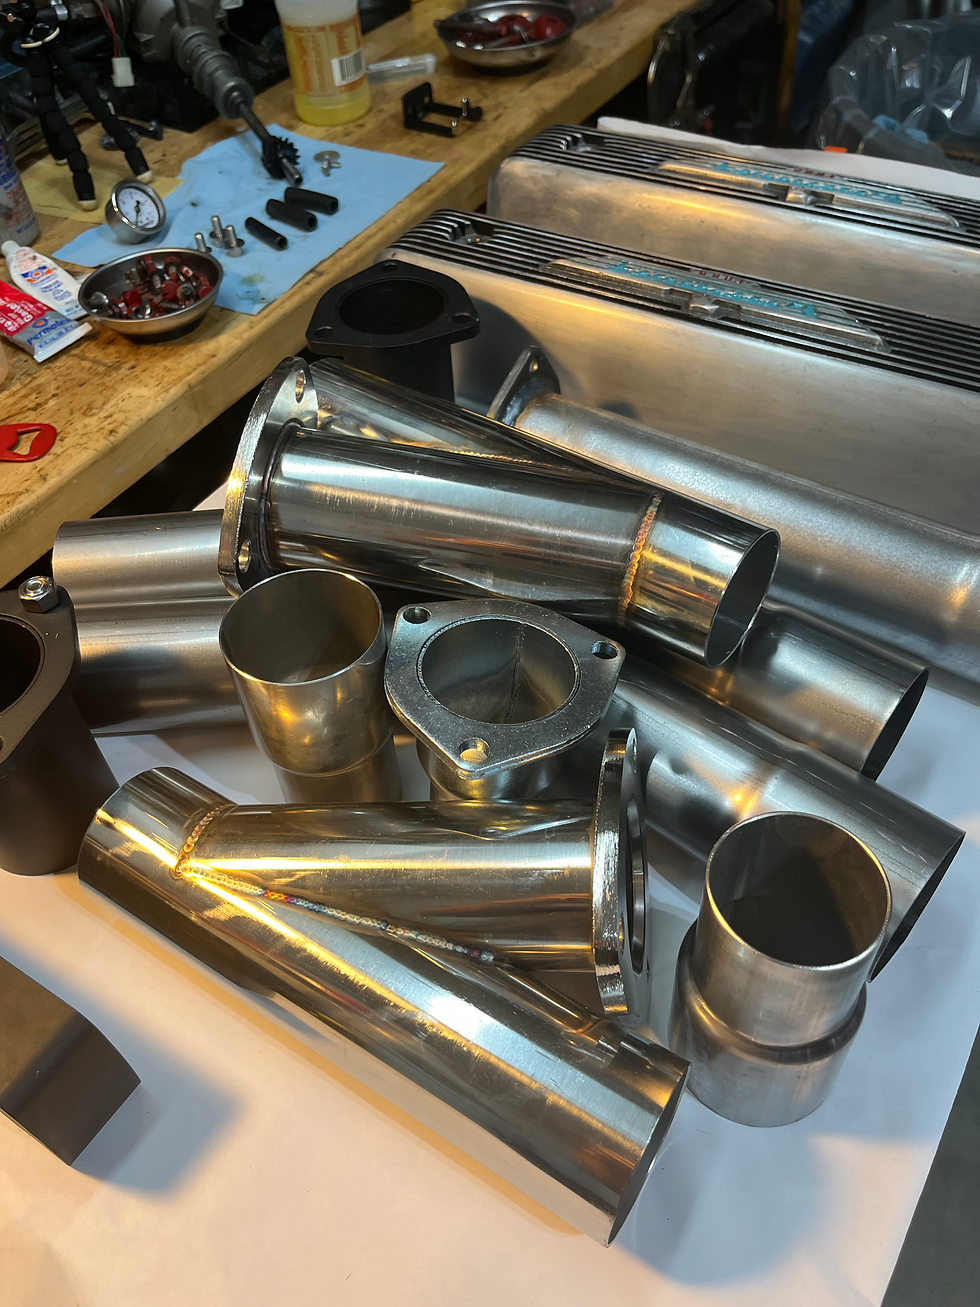
In addition to an exhaust pipe kit, I purchased various adapters and components.
I do not have a TIG welder, I do not have a pipe bender, nor do I own a band saw. I believe with more experience and a few other tools this project would have seemed less daunting at the beginning and of course it would have all turned out much better in appearance. But nevertheless, with a grinder cut off wheel, a MIG welder, and some thoughts on how to get this done I rolled underneath the car. The original down pipes had already been cut just before the muffler entry and removed so that I could make way for the headers since they exit a little further down than the cast iron manifolds.

The cut off wheel did alright in place of a band saw.
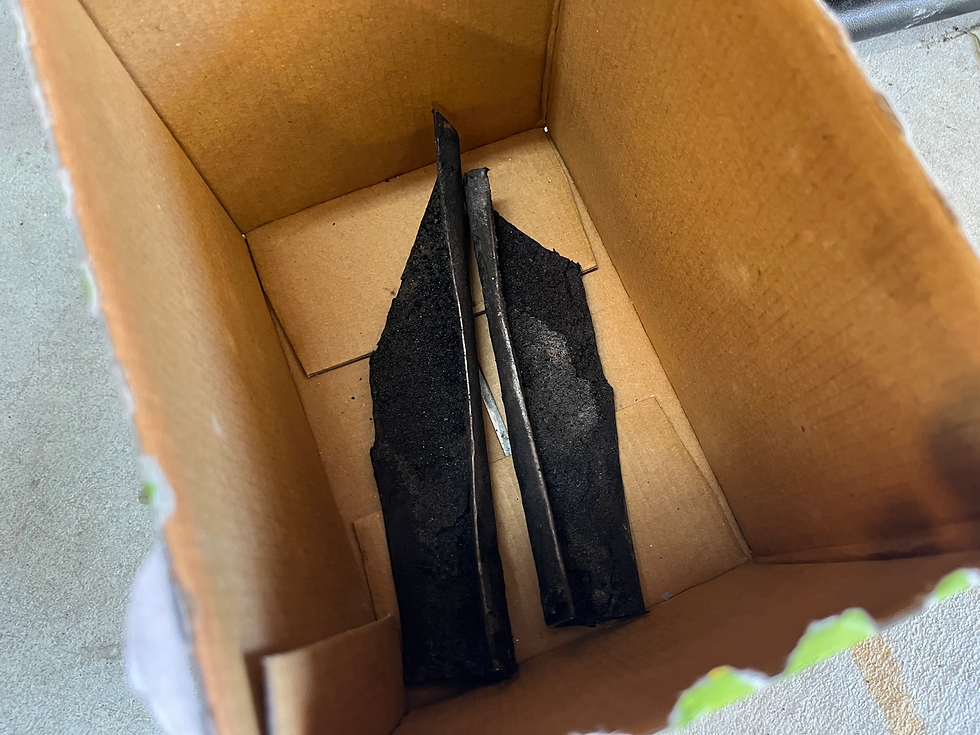
Two short lengths of metal had to be removed from the frame for pipe routing.
You can see in the photos above and below that I had to remove a short section of the frame to make room for the 2.5" pipe. With proper tools there would be an outside chance that a pipe could be inserted into the existing frame hole but my thoughts are that because of the angles needed to clear the frame and meet up with the existing pipe at the muffler it would have been impossible to completely install/remove a finished assembly.
The frame is surprisingly thin in this section, but 1/4" flat stock will be installed later.


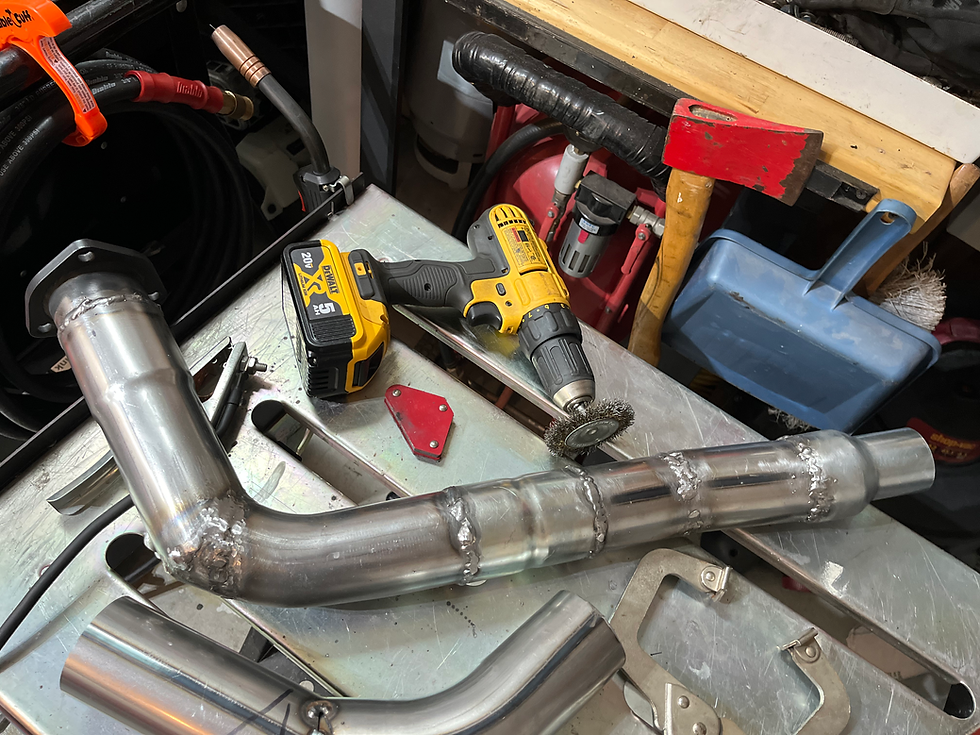
The work involved a lot of cutting, trimming, fitting, welding, and grinding.
For all practical purposes I began with a flange adapter that was about 4 inches long and carried an outside diameter of 2.5". The next piece came from the kit and was a section of 2.5" pipe, 14" long, with a 45 degree angle in the middle. One end was 2.5" OD and the other was 2.5" ID. To make each "bend" I marked the pipe with a line that would indicate where to make a pie cut so that the remaining length could be adjusted to make the next measure of clearance needed. To keep proper tabs on the angle (so that I would eventually meet the existing 2" pipe with a reducer) a band clamp was used at that section. Then, a piece of "pie" was cut from a sacrificial pipe in the kit and MIG welded into position. The pieces in the kit were all designed to be slip fit with one end having an ID of 2.5" and the other end having an OD of 2.5". I did have to buy a few adapters at the local parts store, but these were pretty cheap. The welds got a little interesting when I mated thinner metal (most of the adapters) with the thicker metal (most of the pieces in the kit I had purchased.)

I ran out of MIG wire during the project, and I even had to refill my gas bottle.
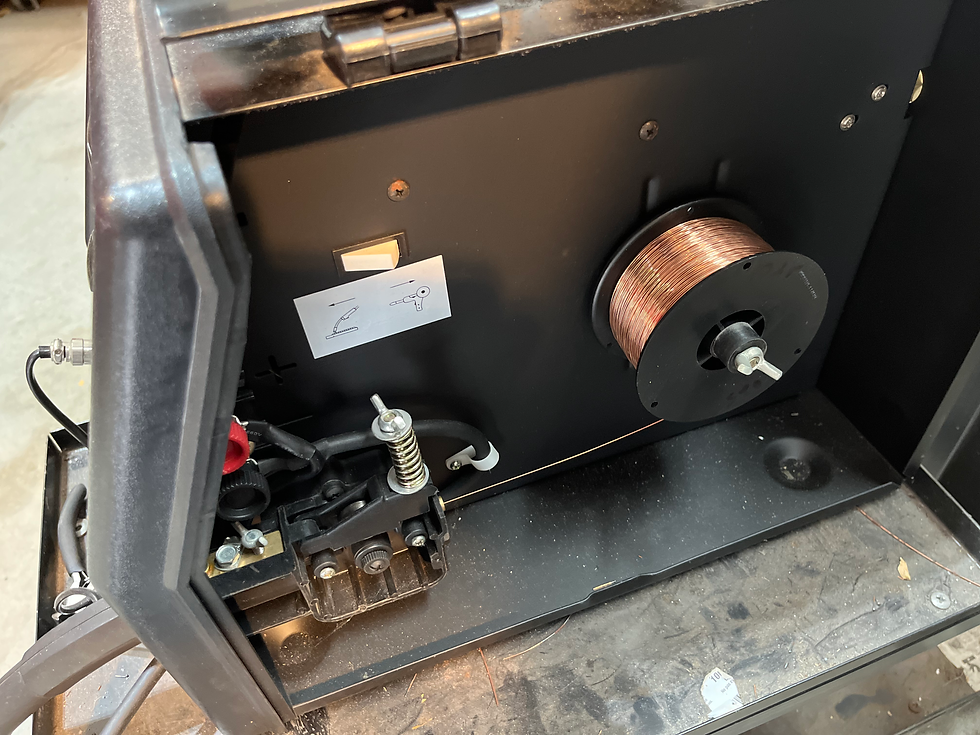
I have used the Eastwood MIG 135 exclusively on the 55 Ford - a good all-around welder.
After both the passenger and driver's side pipes were fitted and the welds ground a bit, I double-checked the seal by shining a flashlight around the circumference of each weld and looking into the pipes. I did have to weld up a few pinholes here or there. Next up was to paint the exterior of the pipes with a high temperature paint. Since I could not use those dumps pictured above, I believe that one day I will also fabricate a set of down pipes for the track that would exit just before the rear wheels. All that I would need to do to remove these pipes would be to unbolt the band clamp and unbolt the hardware at the flange. Hopefully later this year that would be something I could do. There is another option and that would be to make my own dumps on a section of each pipe. Although I did not have any straight sections long enough in either side to allow the installation of the adapter dumps I purchased, I do believe I could splice in the dumps at 45 degrees at a later date. Maybe I will go that route since this is not a race car.

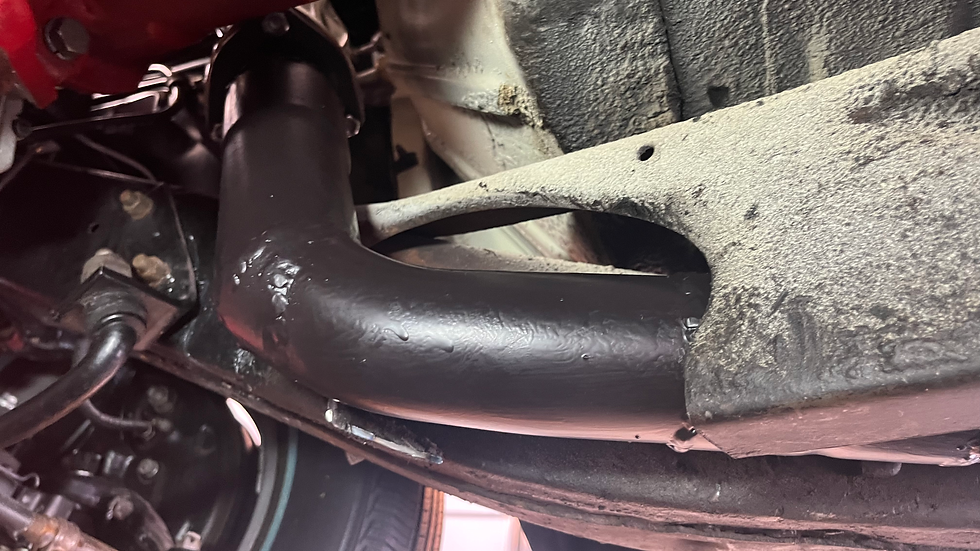
The band clamp was an easy choice for the solution I needed.

The driver's side was a tight fit, but sill carried the needed clearance.
Although custom welding pipes was quite a bit of extra work, I feel as though I learned a lot. And the "built not bought" effort for the car continues. I will say that I will be on the lookout for a quality band saw. The cut off wheel certainly worked its charm, but the pipe cuts would have been so much more precise with the proper tool. The more I drive the car during the summer I will certainly keep everyone posted on this installation; but things sure do look good at this early stage. If you like, you can watch the video below to find out a few more details.
Exhaust Pipes for the RexHP Headers
Fast Fords and the Y Block Nationals

Waiting for my first run down the track at Dragway 42 last year.
We are approximately two weeks away from Fast Fords and the Y Block Nationals at Dragway 42 in West Salem, Ohio! You do not need to own a race car to attend, nor do you have to run your car or truck down the 1/4 mile. Why not make plans to stop by and say "hello" or visit the track and take a look at all that will be happening? It is an all FoMoCo event with plenty of 50s and 60s Ford cars and trucks, along with later model offerings. My crew and I will be setting up the Victory Tent on Thursday afternoon, and we will have free donuts and coffee at the tent on Saturday morning. As chaplain of the race weekend I will be holding a brief church service on Sunday morning at 8:15 AM. If you are at the track we would love to meet you.
The Hot Rod Reverend
aka Daniel Jessup


Back in 1964 I had a hot 54 Ford 2dr post Mailiner with a "real" 57 built 312. I was just out of HS and my Dad owned a wrecking yard and auto repair shop for whom I worked for. Your thoughts about dump tubes brought back a memory I had with my 54 Ford. Now I had the 312 manifolds and dual exhausts with smitty mufflers that sounded sweet. As and 18 year old I had this brilliant (now dont laugh) idea on how to make my own using gas tank filler necks. I crawled under it and with acetylene torch made the opening and and using coat hanger wire welded in the fitted gas tank necks. They work…